Two recordings can reach the same peak and still feel very different in volume. A brief drum hit and a sustained dense passage ask different things of our hearing. Meters help describe those differences, but each number measures a particular part of the sound.
Use loudness readings to compare versions, sample peaks to inspect stored samples, and your ears to decide whether the result works.
Start with the difference between peak and loudness
A sample peak reports the highest stored sample level. It is useful for seeing how close the digital samples come to the available ceiling. It does not describe how loud the complete recording feels over time.
Integrated loudness looks across the programme using a defined measurement approach. LUFS is commonly used to express that result. A short transient can produce a high peak without making the entire recording feel loud, while sustained material can feel louder even with a lower peak.
Peak normalization therefore does not guarantee consistent perceived loudness across files. It adjusts based on a highest peak. If one clip contains a large isolated bump, that bump may constrain the rest of the clip even when the voice remains quiet.
Read the browser report in context
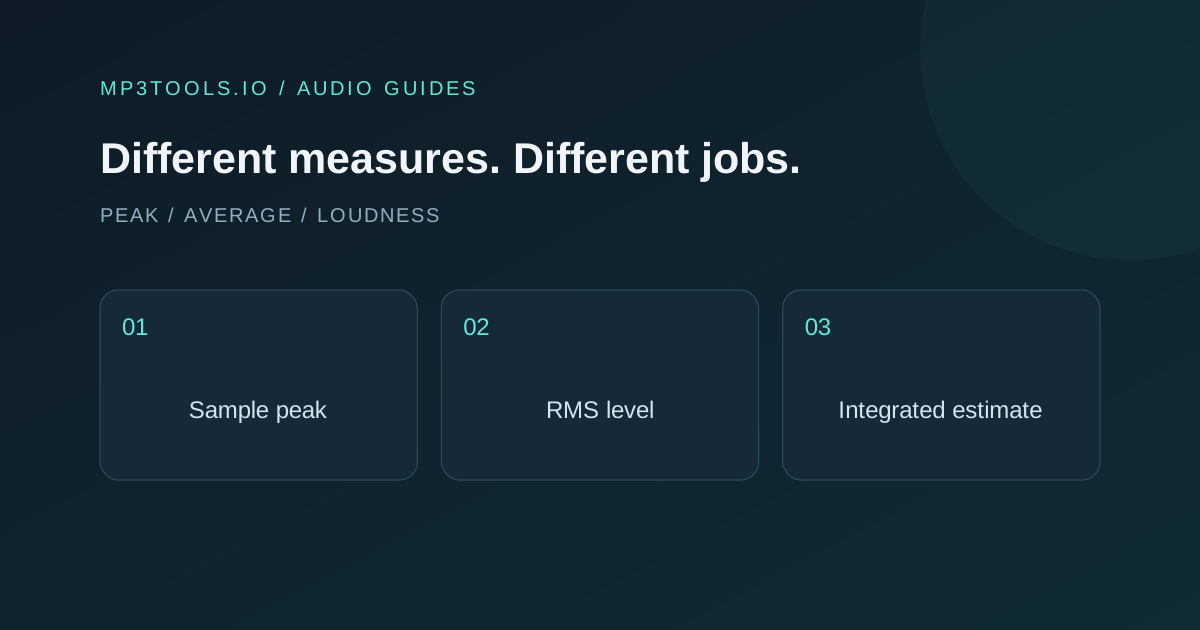
The Loudness Analyzer reports an integrated estimate, RMS level, sample peak, crest factor, a level-range estimate and clipped samples. It measures locally and does not alter the audio.
| Reading | Useful question |
|---|---|
| Integrated estimate | How does this complete version compare with another? |
| Sample peak | How high do the stored samples reach? |
| RMS level | What is the average signal energy? |
| Crest factor | How far do peaks stand above the average level? |
| Clipped samples | Are there stored samples at the digital boundary? |
The integrated and range figures are browser estimates. The peak reading is sample peak, not an oversampled true-peak measurement. Use the report for comparisons and review prompts, not as a certificate that a master meets every delivery specification.
Keep true peak and sample peak separate
A reconstructed waveform can reach a level between stored samples that is higher than the sample peak. True-peak measurement estimates those reconstructed peaks. A destination asking for a dBTP limit is therefore asking for a different measurement from a basic sample-peak reading.
Encoding can also change the decoded waveform. Check the final format you will deliver when a specification requires it. If you need to confirm a formal true-peak ceiling, use a meter and workflow designed for that job rather than reading this site’s sample peak as though the labels were interchangeable.
You can still use the browser report to spot a concerning level or compare an adjusted version. The useful habit is to keep the measurement label attached to its number whenever you share the result.
Do not turn a playback target into a universal rule
Streaming services can adjust playback levels. Spotify’s published normalization guidance, for example, describes its playback normalization and mastering advice. That is a specific service’s guidance, not a universal requirement for every recording.
Read the current instructions for the actual destination. A podcast host, music distributor, broadcaster and collaborator can ask for different deliverables. Do not repeatedly process a master simply to make one number resemble a general internet recommendation.
A comfortable, clear recording with suitable dynamics is the goal. A dense mix may behave differently from an intimate spoken recording at a similar integrated reading. Treat the number as part of the evidence alongside the arrangement, the source quality and listening.
Build a repeatable comparison
- Analyse the complete version, not an arbitrary short extract.
- Note which file and format you measured.
- Compare another version of the same material.
- Listen to quiet, loud and transitional passages at a steady volume.
- Verify any destination-specific requirements with a suitable final meter.
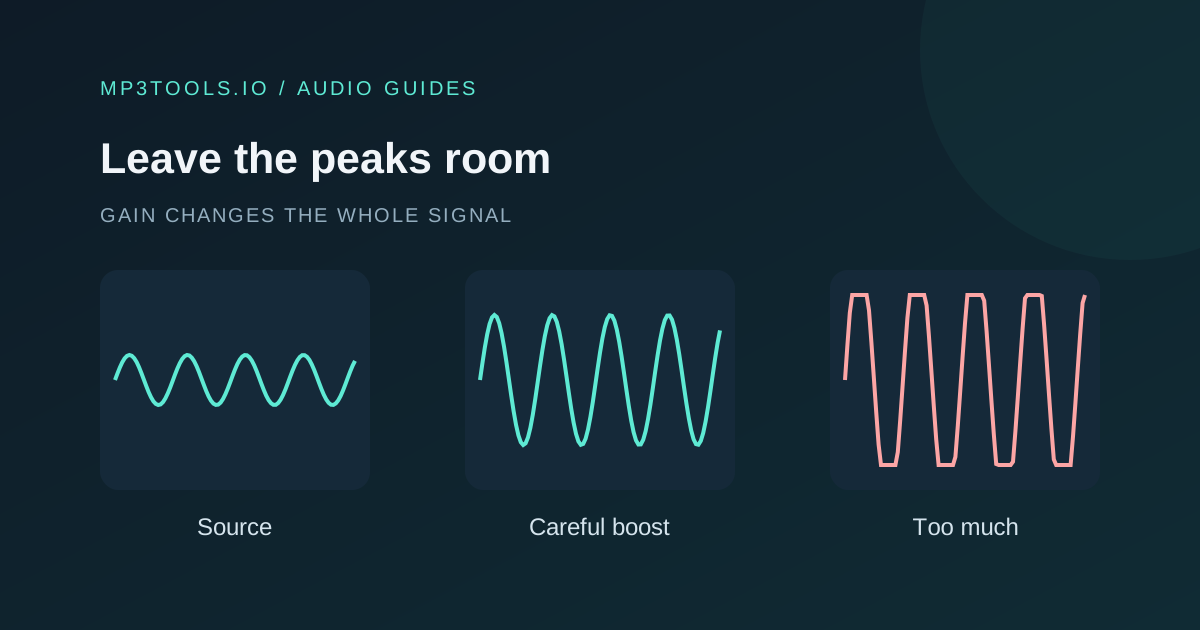
If you use the Volume Booster, start conservatively and analyse the resulting download again. Raising the overall level does not solve missing words, source distortion or an uneven performance.
Keep a brief note with the file: source version, processing applied, export format and what you checked. That makes later comparisons useful. Without the version and measurement context, even a precise-looking reading can be attached to the wrong deliverable.
Sources & further reading
Tool steps checked against the current mp3tools.io browser tools. Platform guidance checked on 4 October 2026.