A finished song is only one part of a release. The files around it need to tell the same story: the same artist name, the same title, the right version, and a clear distinction between your master and your promotional exports. This checklist gives independent creators an order of work that makes those checks easier.
Keep the master safe, prepare separate delivery and promotional files, and check the complete package against your distributor’s current requirements.
Start with a source of truth
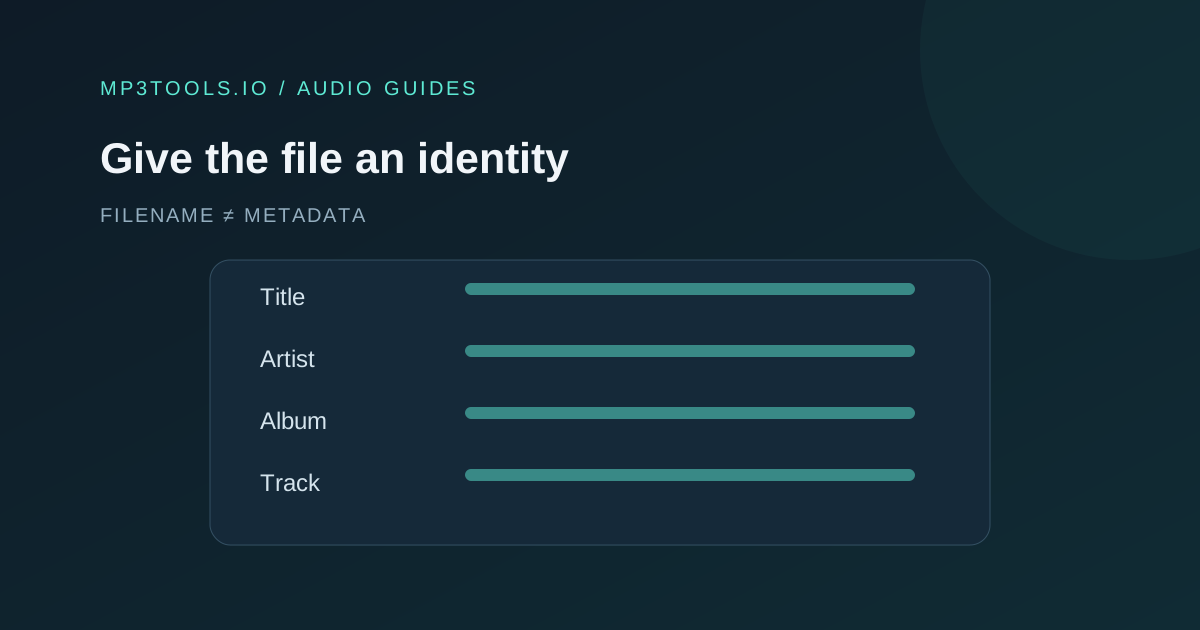
Create one release folder before you make the delivery files. Keep the approved audio master in it and work from copies. Add a plain text record of the artist name, release title, track title, version label, credits and intended release date. This is your reference when checking the other files.
Use filenames that tell you what a file is for. For example, song-master.wav, song-preview.mp3, song-cover.jpg and song-lyrics.txt are easier to review than four versions called “final”. If you revise the master, replace the exports deliberately instead of leaving uncertain duplicates in the delivery folder.
The Release Checker can help inspect an audio file’s technical properties. Treat that as the start of a review, then listen to the beginning, end and most demanding section. A file can have the expected extension and still be the wrong mix.
Check the audio before making smaller copies
Listen for a clipped first note, a cut-off reverb tail, unexpected silence, distortion and changes between left and right channels. Check with headphones and a second playback system if you have one. Make any edit from the highest-quality source available.
Use the Loudness Analyzer to compare versions and flag possible level problems. Its integrated result is an estimate and its peak reading is sample peak, so it cannot certify a true-peak delivery limit. For a destination that specifies a certified meter or a mastering standard, use an appropriate final verification workflow.
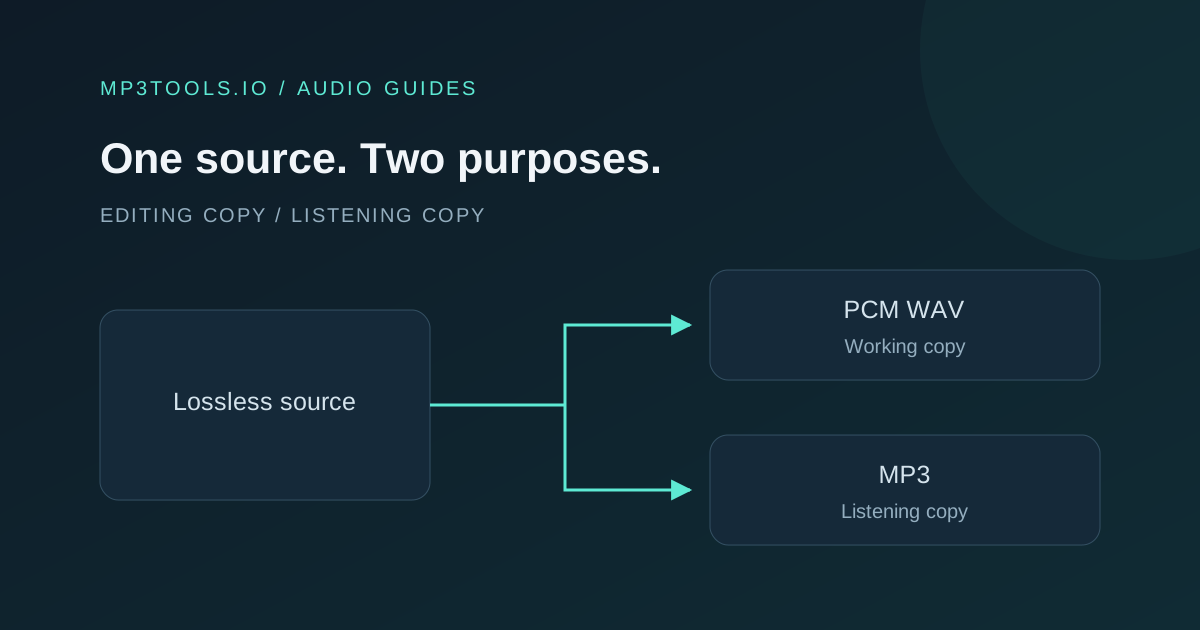
Keep the audio format requested by your distributor. A compact MP3 for feedback is useful, but it is a different job from preparing a master. Our MP3 versus WAV guide explains that distinction.
Make the artwork readable at small sizes
Open the cover at thumbnail size. Is the focal point still clear? Can you read any artist name and title, and do they match your reference sheet exactly? Also inspect the full-size image for crop mistakes, low-resolution edges or an unintended transparent background.
The Artwork Preflight reports dimensions, aspect ratio, format, file size and transparency, and exports a square 3000 × 3000 JPEG. Enlarging a small image does not create missing detail, so start from a suitable source.
Requirements vary. For example, CD Baby’s artwork requirements currently set a size range and require displayed release details to match the submission. Check your own destination before delivery; a technical preflight cannot approve image rights or visual content.
Prepare a clip and run the final handover
Choose a short moment with a recognisable hook and a clean start. Make it from the approved master with the Social Clip Maker, then check both edges. Its output is audio; add any video, subtitles or cover animation in your separate publishing workflow.
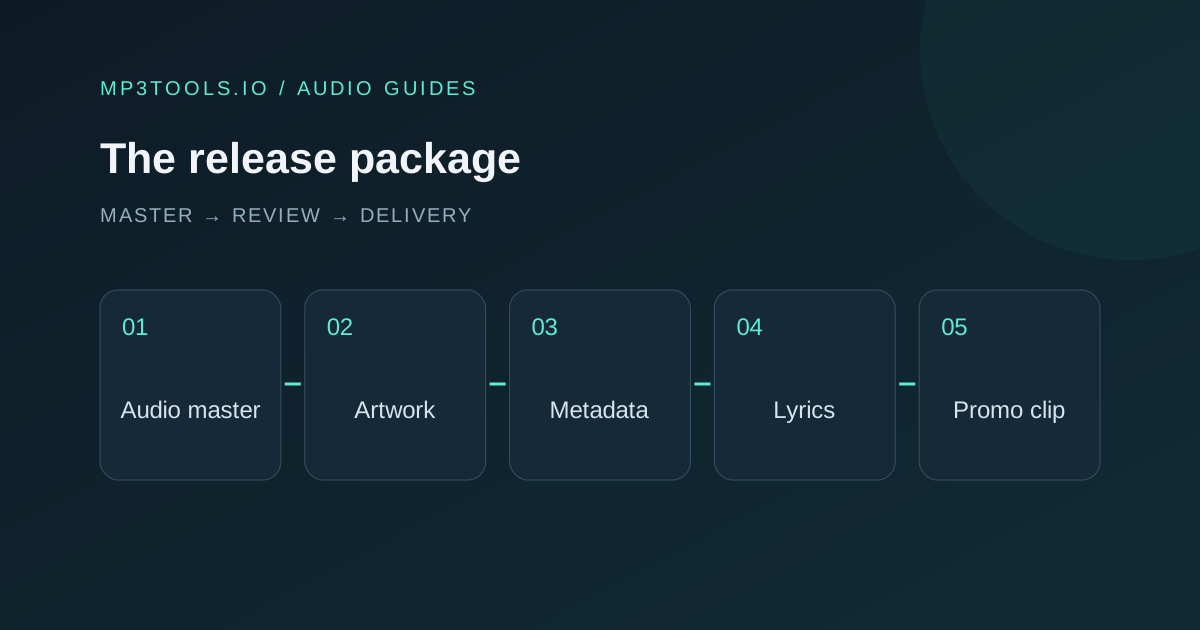
| File | Check before handover |
|---|---|
| Audio master | Approved mix, correct format, complete beginning and ending |
| Artwork | Readable crop, matching text, destination requirements checked |
| Promotional MP3 | Auditioned export, consistent tags, descriptive filename |
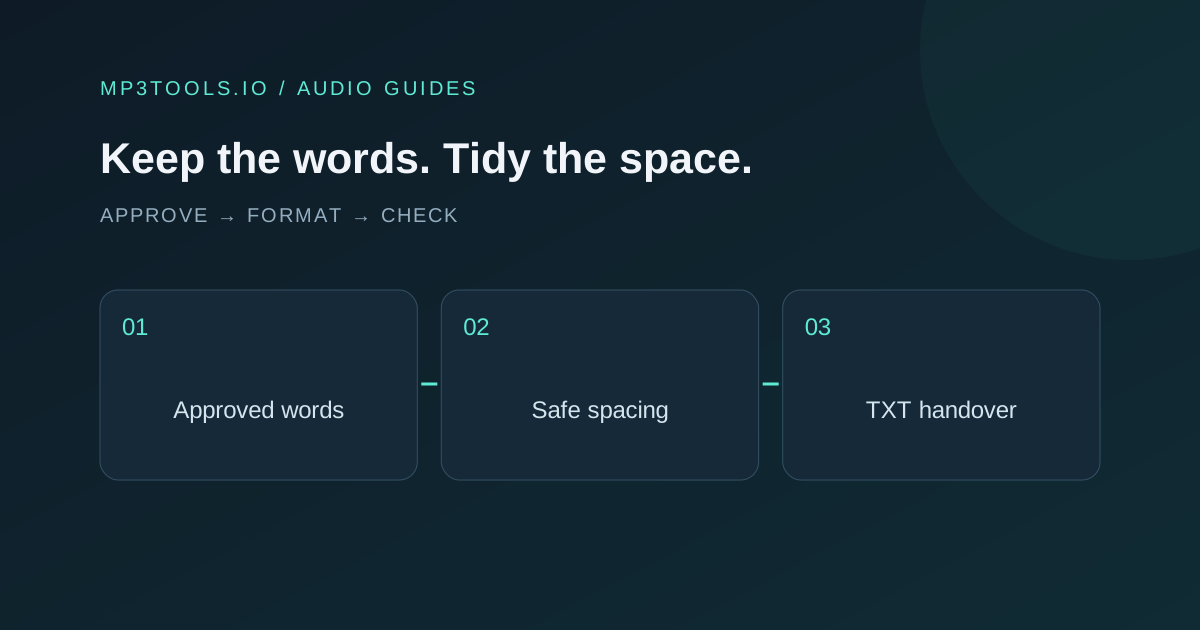
| Lyrics TXT | Words and structure match the released performance |
| Short audio clip | Clear hook, clean boundaries, correct source version |
Ask a collaborator to check the folder from scratch if possible. Give them the reference sheet and the intended destination. The useful question is whether they can identify the correct files without needing you to explain your naming system.
Sources & further reading
Tool steps checked against the current mp3tools.io browser tools. Platform guidance checked on 4 October 2026.