A short preview has a small job: give someone a clear reason to keep listening. Thirty seconds can hold a chorus, an intriguing answer or a compact demonstration, but a timer alone cannot choose the right passage. Start with one complete idea, then make its entrance and ending sound intentional. This workflow prepares an audio file; you can add visuals and captions in your video editor afterwards.
Choose the moment first, check both boundaries by ear, and listen to the downloaded file before handing it to your video or sharing workflow.
Give the preview one clear job
Write a one-sentence brief before opening the editor. For a song, try “let a new listener hear the chorus and its distinctive vocal line”. For a podcast, try “give the listener one useful answer about recording at home”. A brief makes it easier to reject an exciting passage that needs too much explanation.
Listen to the source and note two candidate windows. A music excerpt might need a pickup before the main beat and a little decay after the final note. A spoken excerpt needs the question or enough context to make the answer intelligible. Avoid opening with “that is why” when the listener has not heard what “that” refers to.
Thirty seconds is an editorial target here, not a universal platform limit or a promise of better engagement. If the idea takes twenty-four seconds, you may be better off keeping it concise. If it needs forty seconds, find a smaller idea rather than cutting out the words that explain it.
Set a real 30-second window
Open the Social Audio Clip Maker and choose a source you are entitled to use. Prefer the approved WAV or other high-quality source when available, and keep the master unchanged. Wait for decoding to finish and the waveform to appear. The core editing and export happen in your browser.
- Set Start time near your chosen entrance.
- Select the 30 sec duration preset.
- Check both displayed times and the selection duration.
- Use Play Selection, then refine the boundaries.
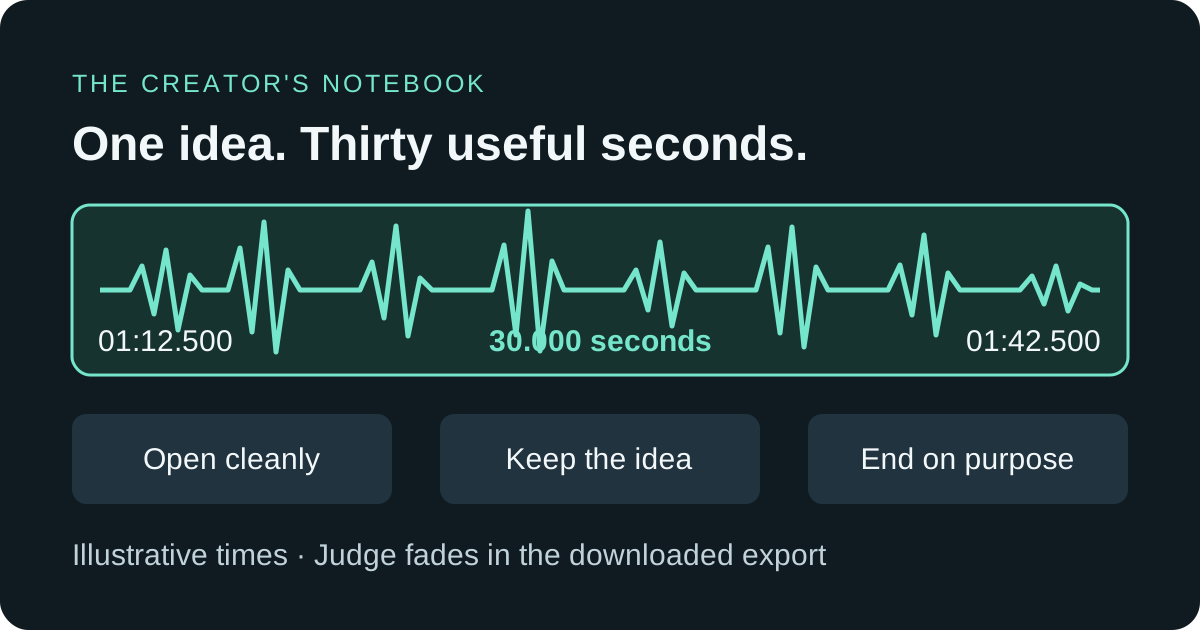
For a worked example, suppose a useful phrase starts at 01:12.500 in a two-minute recording. Thirty seconds later is 01:42.500. That is your first candidate, not an instruction to cut through a syllable at exactly that point. If the entrance needs another half-second, move the window and check both ends again.
The preset uses available source audio. Near the end of a recording, it can move the start backwards to fit the requested duration; a source shorter than thirty seconds produces a shorter selection. Also, changing one time afterwards can change the length. Confirm the visible selection rather than assuming the preset stays locked.
Listen to the edges and check exported fades
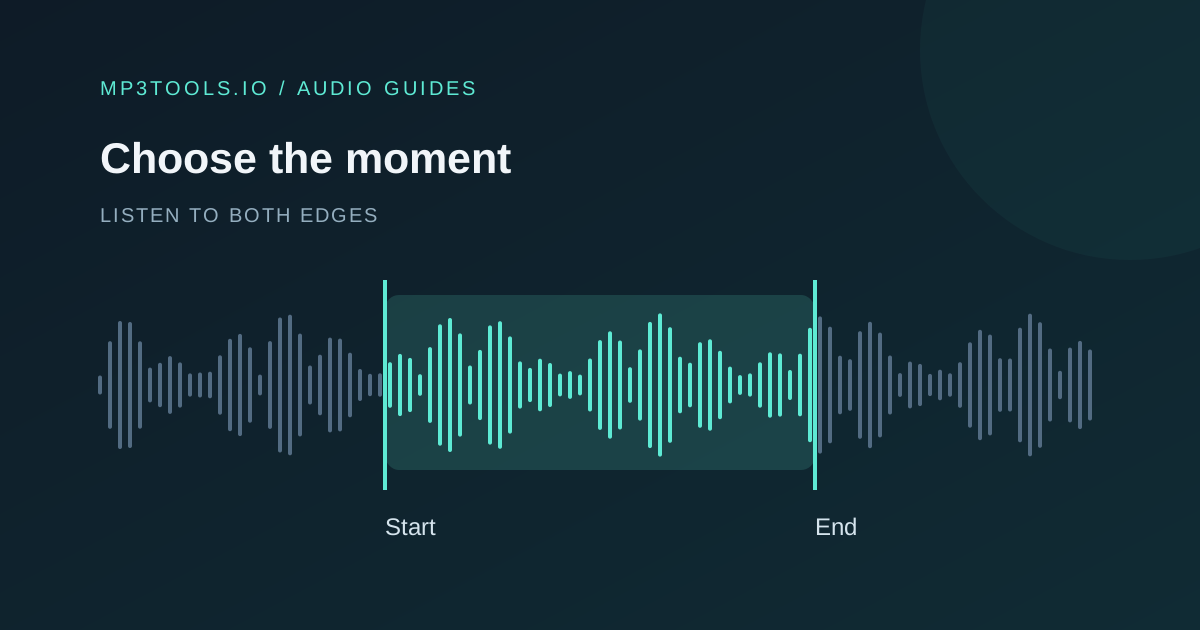
Use the waveform to navigate, then let listening decide. A low-amplitude consonant can begin before the obvious peak. A drum pickup can belong to the next phrase. Play the whole selection once, then concentrate on its first and last few seconds. Ask whether it begins confidently and ends without losing a word or musical resolution.
A short fade may soften an abrupt boundary. The tool offers 80 ms, 250 ms, 500 ms and one-second fade lengths, with separate Fade in and Fade out switches. Start with the shortest useful adjustment. A long fade can hide the first syllable or weaken an important drum hit; moving the cut may solve the problem more naturally.
Audacity’s fade guide explains how a short transition can reduce a click caused by an abrupt amplitude change. That does not mean every clip needs a fade. In this tool, Play Selection previews the selected source passage; the fade processing is applied when exporting. Download a test export and listen to it to judge the actual fades.
Export the copy your next step needs
Choose WAV when another editor will continue working on the audio and accepts that format. Choose MP3 for a compact listening copy. The MP3 and WAV guide explains why converting an existing MP3 to WAV does not recover discarded detail.
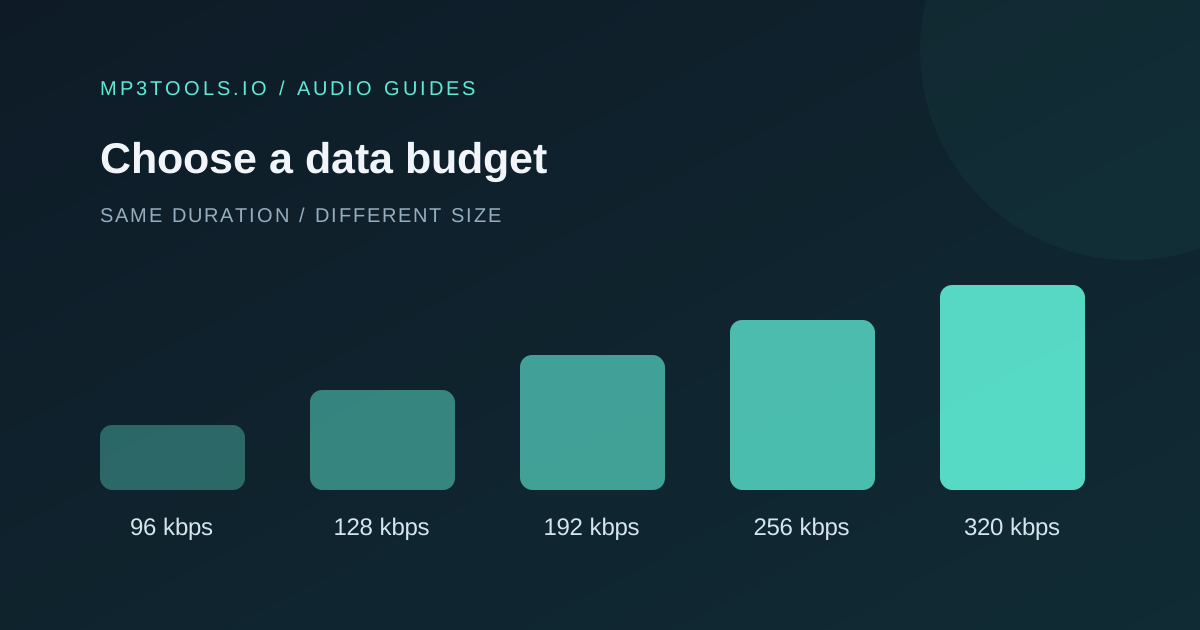
For MP3, the tool offers 128, 192, 256 and 320 kbps. A thirty-second export at 192 kbps contains about 720,000 bytes of encoded audio: 192,000 × 30 ÷ 8, or roughly 0.72 decimal MB before overhead. Actual file size can differ. Use the bitrate guide and a listening comparison to choose a sensible copy rather than always selecting the largest setting.
Choose the format, export and download. Name the file for its role, for example single-chorus-preview-30s-v1.wav. Keep a short note of the source version and selection times so another collaborator can recreate it. Return to the source for revisions instead of repeatedly re-encoding the downloaded MP3.
Check the handover before you publish
Open the downloaded file in a player and listen from beginning to end at a comfortable fixed volume. Compare it with the brief: can someone understand the idea without hearing the full source? Check the duration, first sound, final tail and any fade. Verify that it is the intended take, with no accidental silence or harsh distortion.
- Keep the approved source and the preview clearly labelled.
- Confirm permission to use the recording and any guest contribution.
- Carry the correct title, speaker or artist name into the next edit.
- Keep the excerpt’s meaning intact when adding captions.
- Check the final video or listening link after its own export.
The Social Audio Clip Maker exports audio only. It does not generate an MP4, captions, artwork animation or a scheduled social post. As MDN’s media-format guide explains, audio streams and video containers are different parts of media delivery. Import the audio into your video workflow, add appropriate visuals and check the destination’s current requirements.
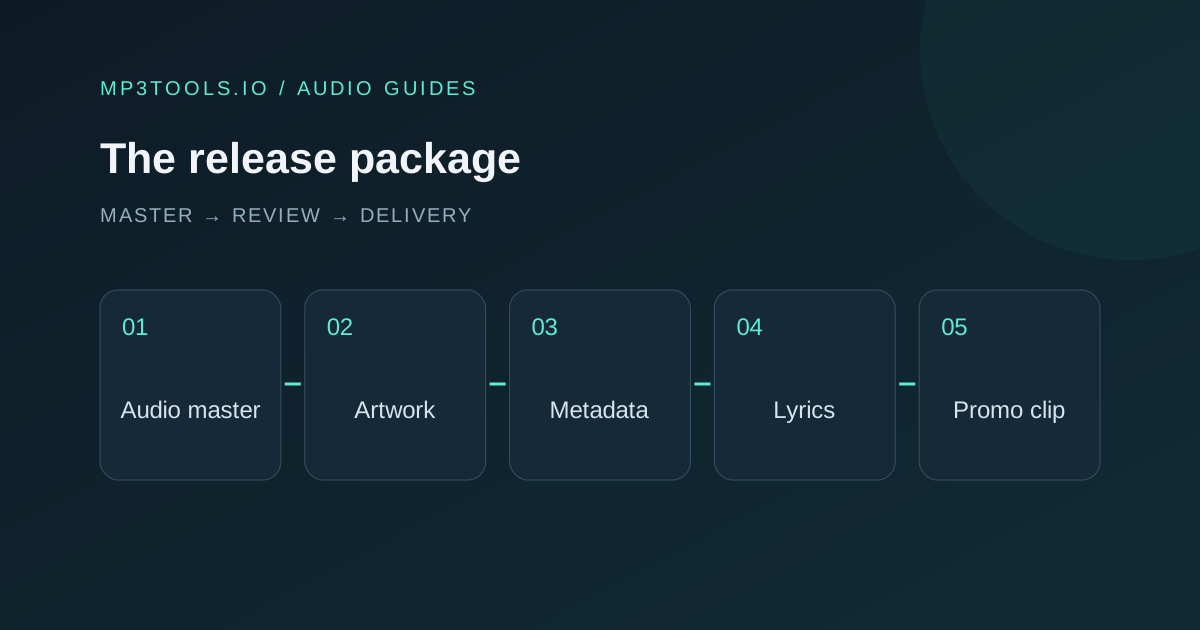
For a music campaign, connect this preview with the release checklist so the artwork, title and approved audio version agree. The finished preview should make the next step easier for both the listener and the person publishing it.
Sources & further reading
Tool steps checked against the current mp3tools.io browser tools. Platform guidance checked on 13 October 2026.