Joining audio clips is useful for lessons, spoken updates, podcast segments and a collection of takes. The best result comes from a clear sequence and careful transitions. The browser Audio Merger puts clips one after another; it does not layer voices or mix background music underneath them.
Name the clips, set their order, check every join, and choose the export format for the next task.
Plan the sequence before you upload
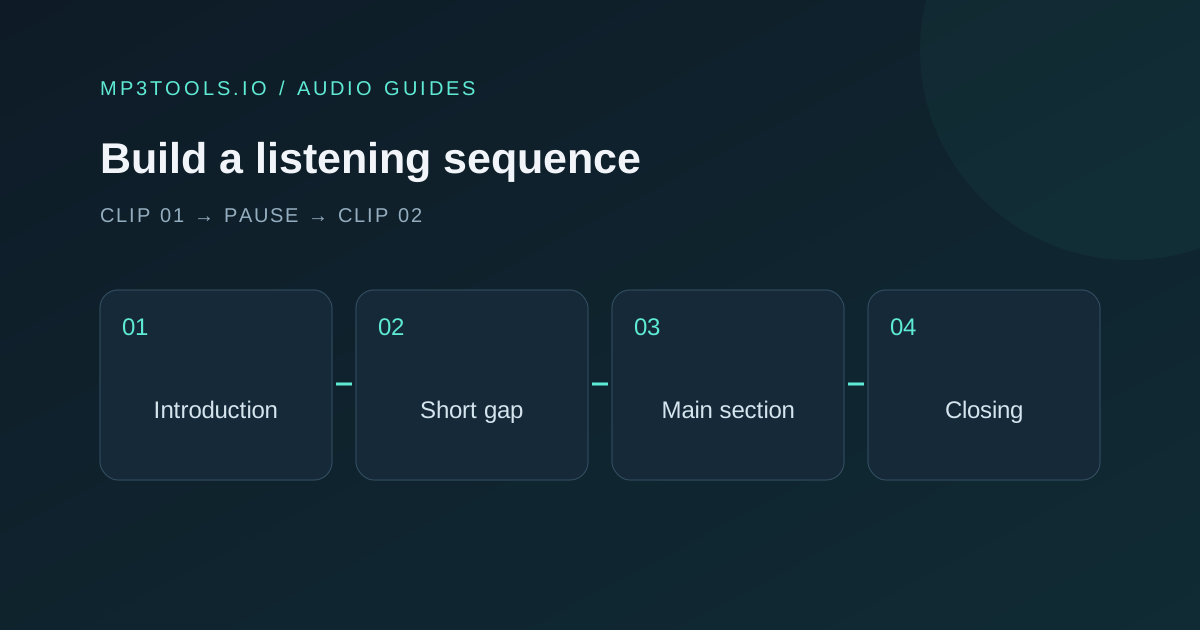
Write the order you want the listener to hear. For a short lesson, that might be an introduction, the explanation, an example and the closing instruction. For a set of interview answers, it might follow the questions rather than the order the recordings were made.
Name files with a simple prefix such as 01-introduction, 02-example and 03-closing. Those names make mistakes easier to spot in a queue. Do not rely on a file picker to keep the intended order; confirm the visible sequence after loading.
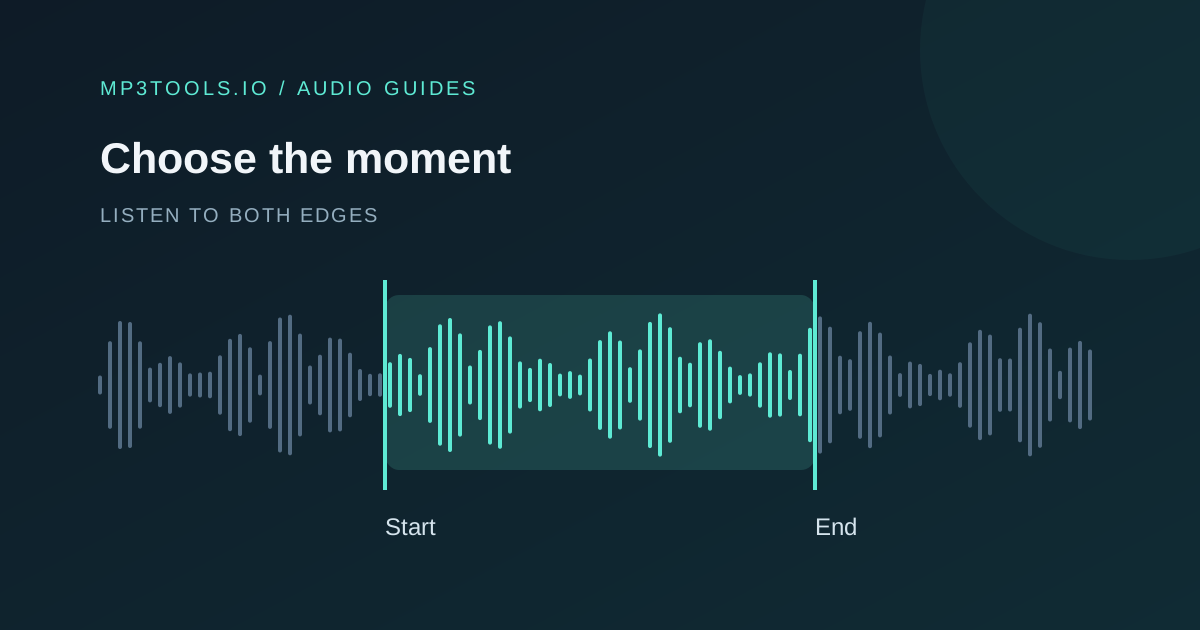
Remove unwanted starts and endings from each clip first with the MP3 Cutter if necessary. For intermediate edits, use WAV where practical, then create the final MP3 once. Keep your untouched sources together in a separate folder.
Load and arrange the clips
- Open the Audio Merger and select the files.
- Wait for each item to load and decode.
- Read the queue from top to bottom.
- Use the queue controls to move an item or remove an unwanted take.
- Preview the combined recording before export.
The merger uses the order shown in the queue. If a file is unsupported by your browser, replace it with a compatible copy instead of assuming that it will be skipped silently. MP3 and WAV are common starting points; other input formats depend on the browser’s decoder.
Long recordings require memory once decoded. A small compressed input can expand into a much larger working buffer. Close other heavy tabs, use a desktop device for a large assembly, and consider a desktop editor for a project that exceeds the browser’s practical capacity.
Give the listener enough space at the joins
The gap control offers no gap and short pauses, including 0.25, 0.5, 1 and 2 seconds. Choose the pause that suits the material. A brief spoken update may need only a small separation; a lesson changing topic may benefit from a clearer break.
Any silence already inside the clips remains part of the audio. If the first clip ends with a long pause and the next begins with another pause, adding a gap can make the transition feel slow. Trim those edges deliberately rather than expecting the gap control to remove them.
Listen to several seconds on each side of every join. Check for a cut-off word, a repeated phrase or an entrance that arrives before the previous thought has finished. The current tool adds spacing; it does not provide overlapping crossfades or automatic beat matching.
Check level changes between recordings
A sequence can be technically correct but tiring to hear if each speaker arrives at a different level. Preview the full assembly at one playback volume. When a transition makes you reach for the volume control, note the two clips involved.
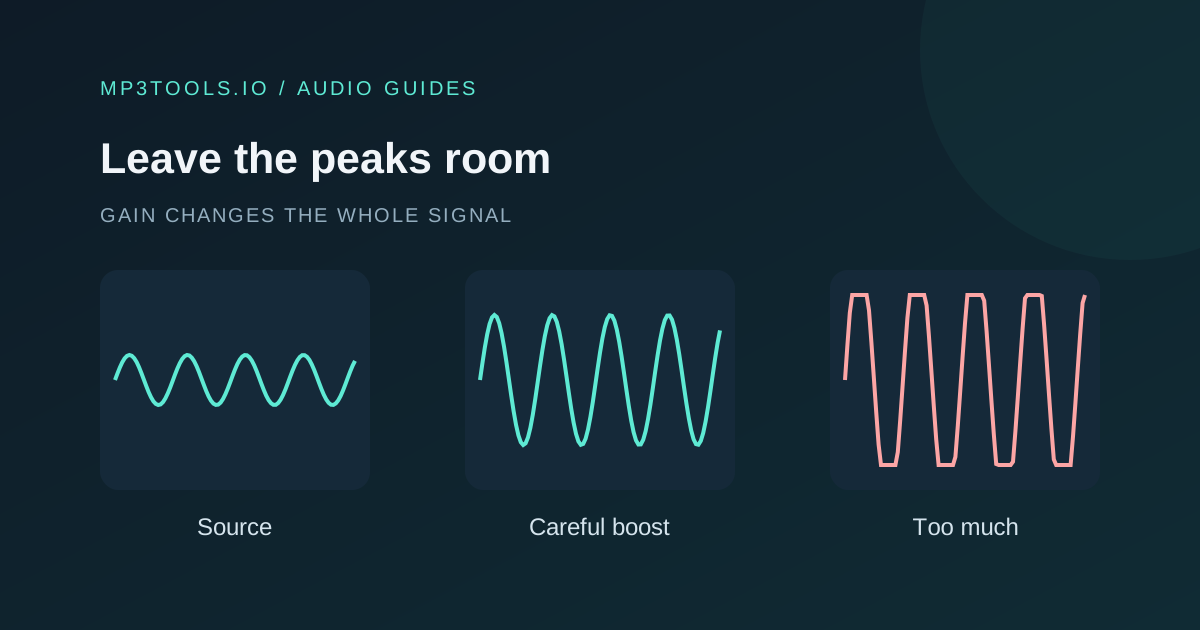
The merger does not automatically match perceived loudness across all items. You can prepare a modest adjustment on an individual clip with the Volume Booster, or use a fuller editing workflow for uneven performances. Avoid repeatedly converting MP3 to MP3 between stages.
If you compare files with the Loudness Analyzer, remember that the figures are estimates and equal peaks do not guarantee equally loud speech. Listen again after adjustments. The combined recording should feel like a coherent sequence, even when its parts were recorded separately.
Export and verify the complete assembly
Choose MP3 when the result is a compact listening copy. Choose WAV when another editor will work on the combined recording. The format guide explains the practical trade-off.
- Check the first clip and the last clip are the intended takes.
- Verify every transition in the downloaded file.
- Check total duration against the clips plus added gaps.
- Confirm left and right playback where stereo matters.
- Add metadata after the final audio export.
A useful handover also includes a descriptive name and a note about the sequence if someone else will revise it. Keep the individual sources: the merged output is convenient for listening, but the separate clips remain your easiest route to changing one section later.
Sources & further reading
Tool steps checked against the current mp3tools.io browser tools. Platform guidance checked on 4 October 2026.